Whether you’re moving to a new neighborhood or a new residence across the street, getting your belongings ready for a local move can still be challenging. If you’re opting for a DIY move or you’re hiring professionals to do the work for you, there are ways you can prepare and have a positive local moving experience.
1. Assess your needs and create a plan

Just like when moving to a new city or state, you must start planning your move as soon as possible. When planning there are certain aspects of the move that must be carefully considered in order to make sure that all of your moving requirements are covered without wasting your available resources.
Once you’ve made up your mind about where to move, take stock of your belongings and determine what needs to be moved. This assessment will help you determine how you will move and provide valuable insight into how much time you will need to prepare everything.
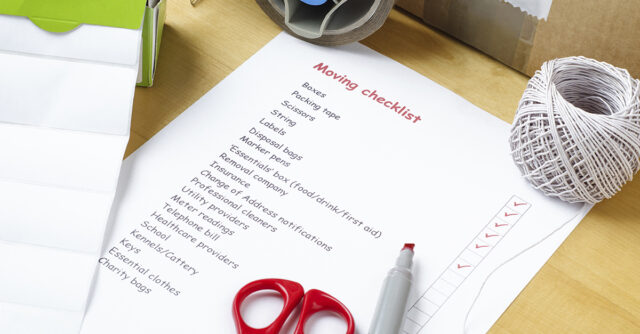
Decide on a moving date and create a timeline for the necessary tasks. Create a detailed plan for every aspect of the move and not even the simplest tasks. Whilst it may seem like a lot of work, a detailed plan and timeline can help ensure that no task is overlooked as your schedule gets more hectic on the days leading up to your moving day. Based on your plan, create a list of items you will need to get everything ready for moving day and list down the expenses you need to prepare for.
Having a timeline for all the tasks you need to accomplish can also help you determine if you need a removalist to get the job done faster.
Consider whether you will require professional removalists or if you will handle the move yourself with the help of family and friends. If you have plenty of heavy and fragile items, it may be better to hire a professional to do the heavy lifting for you. Removalists have the proper equipment and are knowledgeable in moving and lifting techniques to move your belongings safely from one point to another. You may visit their local offices or request an in-home visit for a more detailed assessment of your moving requirements.
2. Declutter and organize your belongings

Sort through your belongings and decide what to keep, sell, donate, or discard. As soon as you have determined your moving date, you can start going through your belongings and deciding which items to keep and which ones to dispose of. If you’re having a hard time deciding which items to keep, ask yourself these:
- Which items will be useful in your new home?
- When was the last time you used a specific item?
- Is it more practical to pack and bring an item than buying a new one?
In case you have unused or barely used items that are still in excellent condition, consider holding a moving-out sale or listing them online to generate extra funds for the move. If you don’t have time for that, consider giving them away to family or friends, or donate them to local charities in your community. If you have items that are old or worn out, rethink if it’s more practical to take them with you or just buy new ones once you move in. Consider getting rid of damaged or broken items that you won’t be able to mend once you reach your new residence. Doing all this will lessen the number of items you need to pack and move to your new residence.
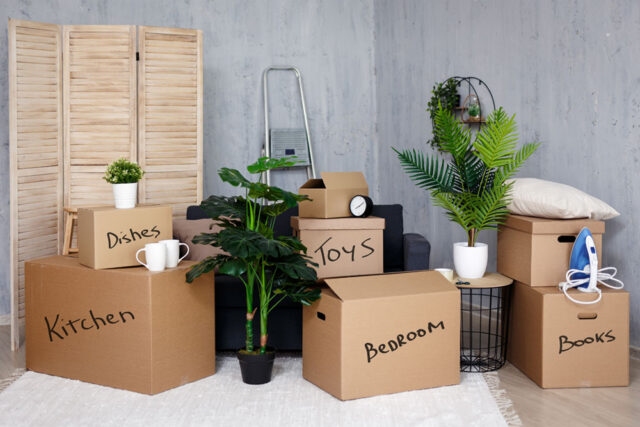
Organize your belongings into categories to make packing and unpacking easier. Depending on the number of items you will need to pack, you can sort and pack your belongings by room or area. For example, pack kitchen items, toiletries, or office supplies together and label the box indicating the contents and the room they belong to. This way, it’s easier to locate items when you’re ready to unpack them in your new home.
3. Gather packing supplies

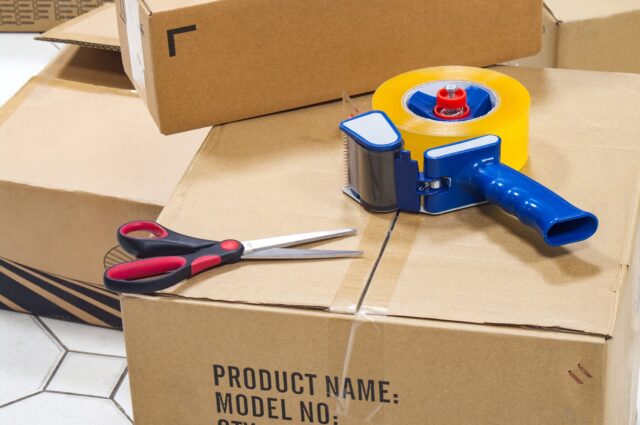
Review your moving plan to check if you have enough materials for all your belongings. It is highly recommended that you purchase or gather enough packing materials such as boxes, bubble wrap, packing tape, and markers before you start working. Having everything you need within reach will allow you to wrap and pack items efficiently.
Consider using reusable containers or renting moving boxes to reduce waste. If you still have the original box or packaging for your electronics, you can use these to provide the same protection for your devices when they are delivered or moved to your current residence.
4. Pack strategically
Start packing non-essential items early to minimize stress closer to the moving day. Once you have determined which items you will bring with you, you can start packing seasonal items and other belongings that you won’t need until the move is completed. Before packing essential items, be sure to pack an overnight bag that contains some essential items (including a change of clothes, and toiletries), so you will have enough supplies without having to unpack several items to get things you will need immediately upon arriving. Label each box with its contents and the room it belongs to for easy unpacking.
Pack fragile items securely and use padding to prevent damage. Aside from bubble wrap and packing papers, you can also use old towels and blankets to wrap fragile items or insert them between gaps to minimize the movement of packed belongings.
5. Notify important parties and update your address

A few weeks before your scheduled move, inform utility companies, banks, insurance providers, and other relevant institutions of your move. Even if you are moving within the same city, you have to notify utility companies, make sure that the utilities in your current residence will be disconnected on time, and make arrangements to have utilities connected and working in your new home before your arrival.
Submit a change of address with the postal service to ensure your upcoming mail will be forwarded to your new address. When possible, avoid ordering items and having them delivered to your current address on the week of your scheduled move, especially if it takes more than two days for your item to be delivered. If it is not urgent, it may be better to place the order after moving into your new home.
Update your address on official documents, subscriptions, and online accounts. Whilst it is possible to do these after the move, it may be better to do it before you relocate. This way, you can cancel subscriptions that you won’t be able to use in your new home and avoid having to pay additional fees to have certain documents delivered or forwarded to your new address.
6. Arrange for transportation
If you’re hiring professional movers, research and only make arrangements with a reputable moving company in advance. Whether it’s your first time hiring a removalist or you are not familiar with the companies near your current residence, ask for recommendations from friends and loved ones who have recently used such services. It is also recommended that you get moving quotes from at least 3 companies.
Instead of booking your move with a company with the cheapest offer, compare the inclusions of the moving package and the rates to make sure you will get the best deals. If the price is too low, likely, it will not cover all of your requirements and you will end up paying more on your moving day.
If you’re moving on your own, arrange for a rental truck or van that suits your needs. Plan the logistics of loading and unloading your belongings, considering parking and access.
7. Take care of last-minute preparations

Disconnect and disassemble any appliances or furniture that need to be moved.
Pack an essential box with items you’ll need immediately upon arrival at your new home.
Conduct a final walkthrough of your old home to ensure nothing is left behind.
By following this outline, you can effectively prepare for a local move in Australia and ensure a smoother and more organized transition to your new home. Remember to consider any additional factors specific to your situation and make adjustments accordingly.


